Viewing forecasts
When you have provided a voyage plan, we normally schedule forecasts and route optimisations every hour. When you log in, we take you straight to the latest forecast for your ship, shown on the forecast map.
Forecast map
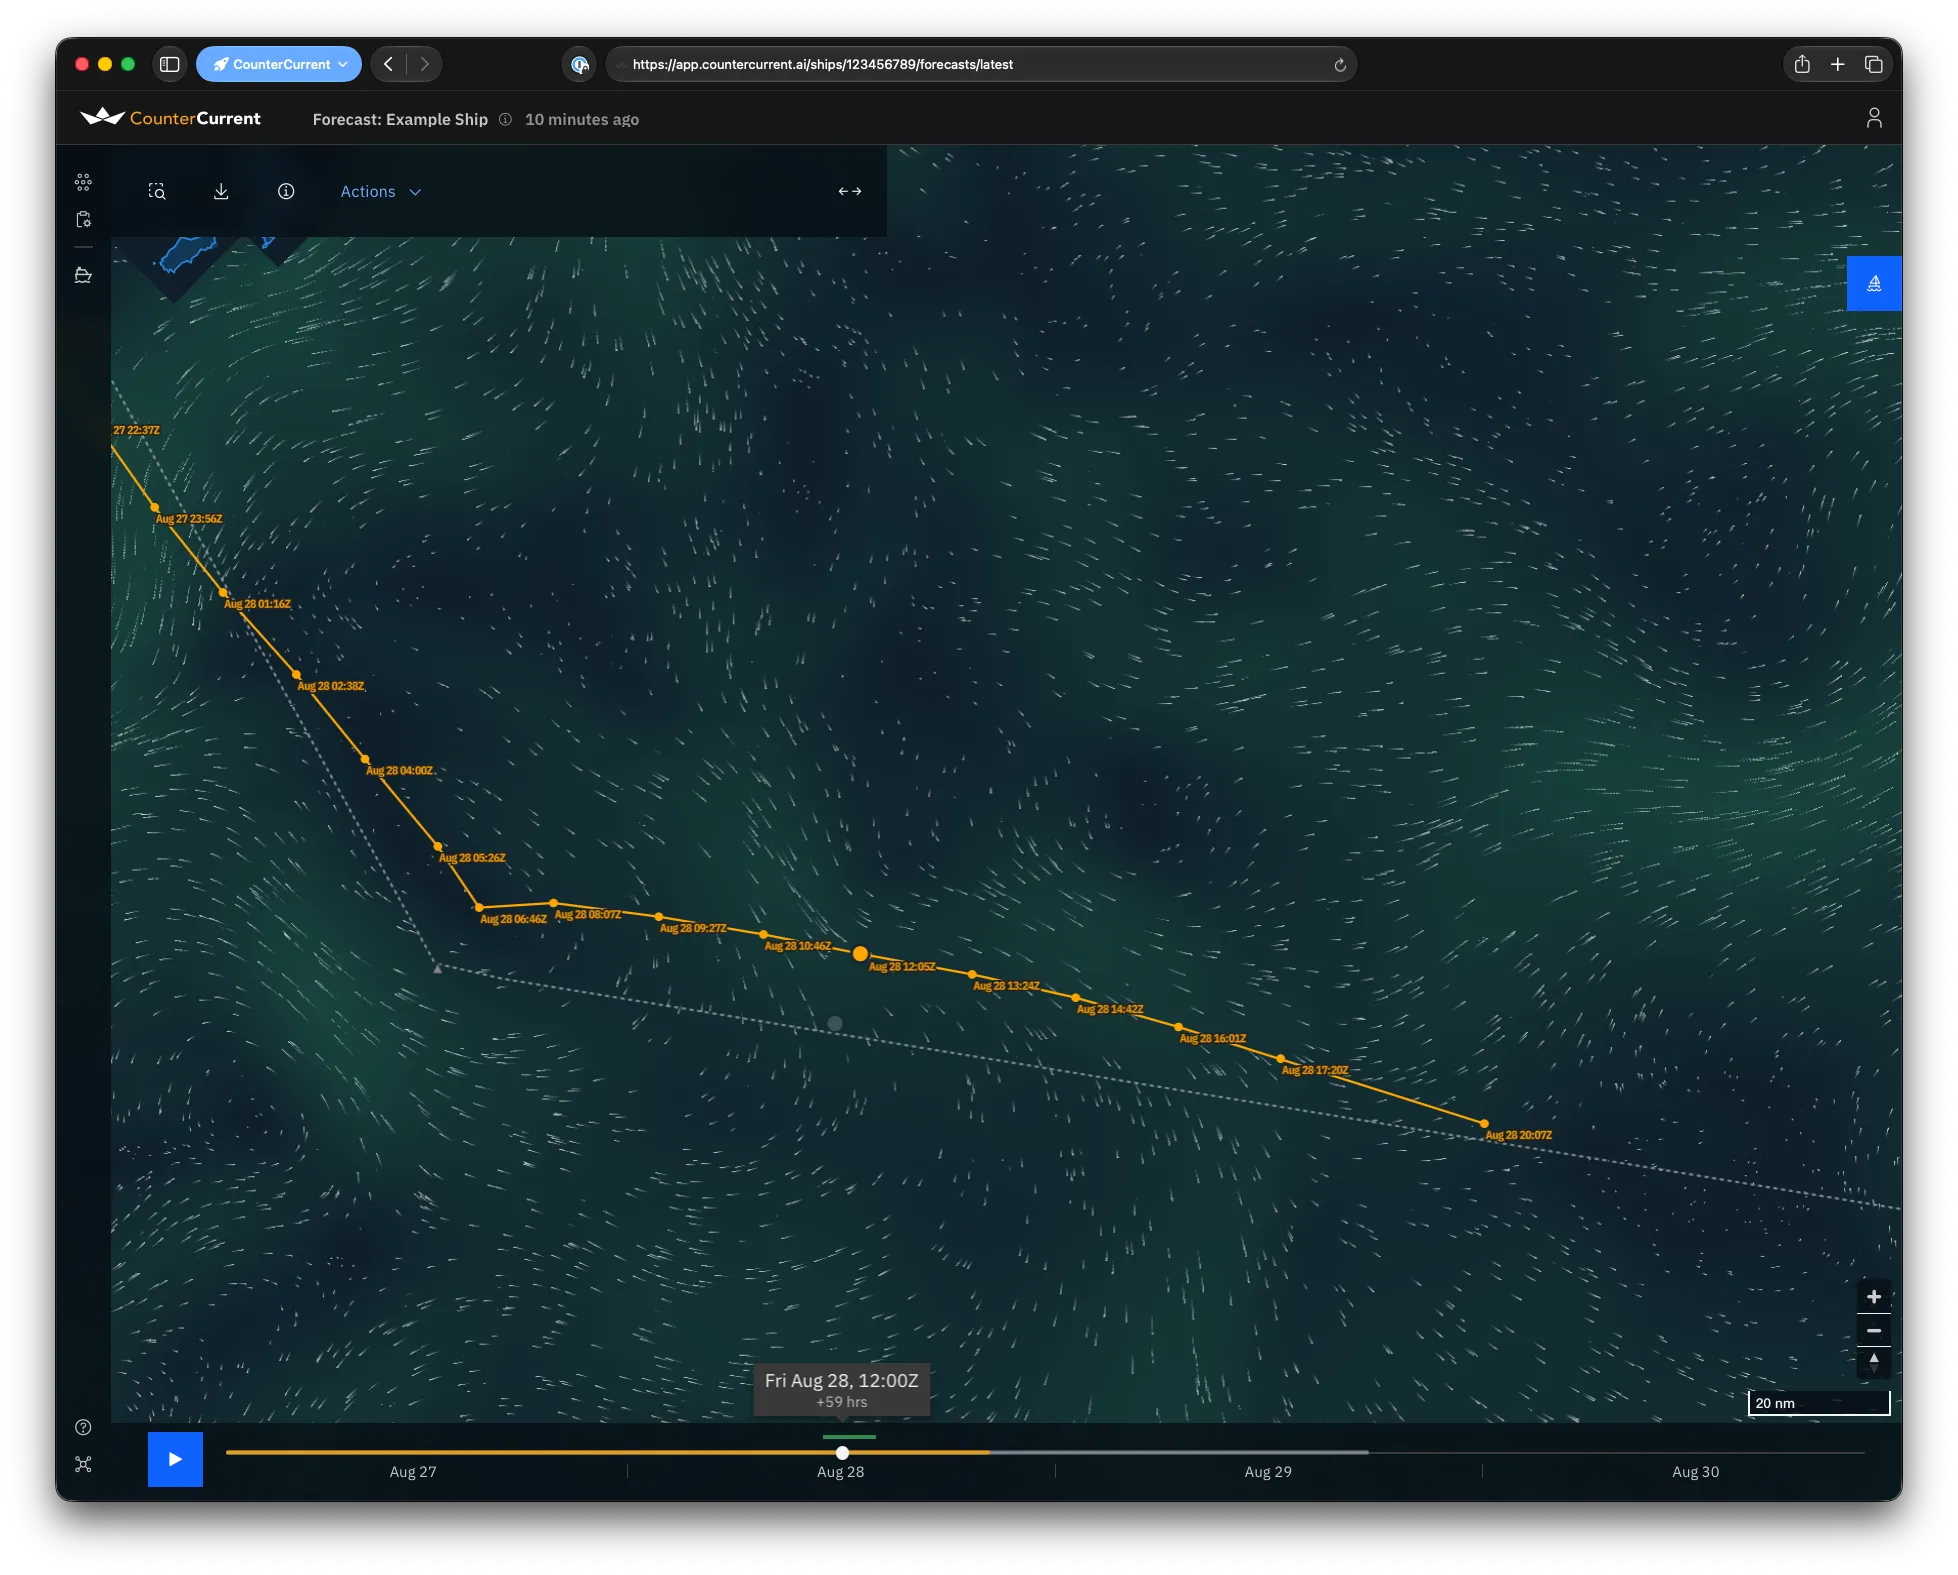
Section titled “Forecast map”The forecast map shows your latest forecast, with a panel in the top-left corner.
Current position
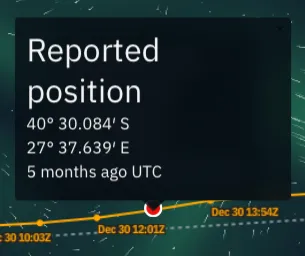
Section titled “Current position”Your ship’s current location is shown by a red circle. Click on it to see how recent it is and the reported position.
Recommended route
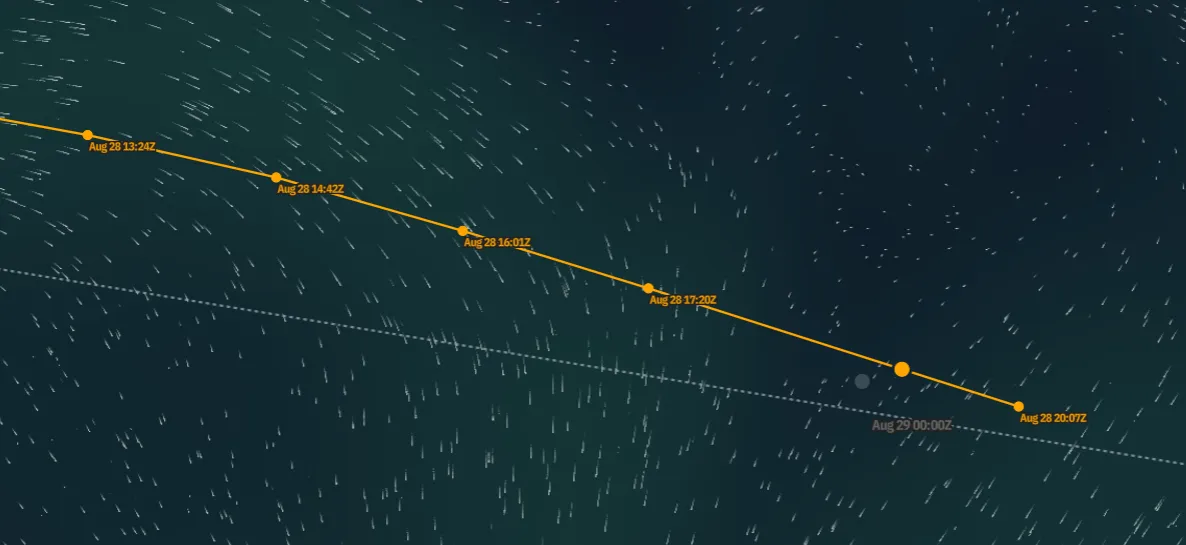
Section titled “Recommended route”The route we recommend you take over the next 24–36 hours is highlighted in orange. This will include any deviations worth making to save fuel or time.
Voyage plan
Section titled “Voyage plan”Beneath it is the voyage plan you provided in grey. Waypoints from that voyage plan are shown as grey triangles ▲, connected with a dotted grey line. You can click on the waypoints to confirm their ordering or location.

Map layers
Section titled “Map layers”You can overlay different environmental conditions on the map using the layer button on the right-hand edge of the screen. The button shows either a label (on desktop) or an icon (on mobile) for the layer currently displayed:
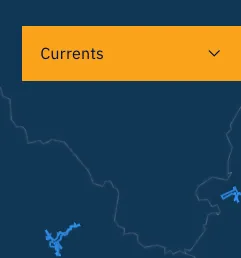
Tap it to switch between:
- Currents — ocean currents
- Sea surface temperature
- Significant wave height and average wave direction
- Wind
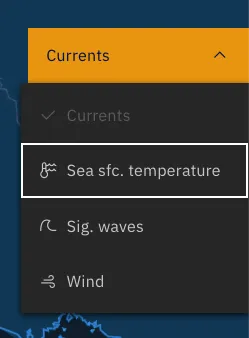
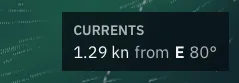
Map layers are shown as both map shading and animated particles to show both strength and direction.
Forecast toolbar
Section titled “Forecast toolbar”The row of buttons in the top-left corner lets you:

- Zoom — quickly zoom to the entire voyage plan, or in to the recommended route (next 24–36 hours)
- Download the recommended route in a number of file formats
- Email the recommended route directly to the captain’s registered email address
- Forecast details — open a panel with technical details about the forecast (timings, identifiers, and diagnostic links). We may ask for this information when assisting with an issue.
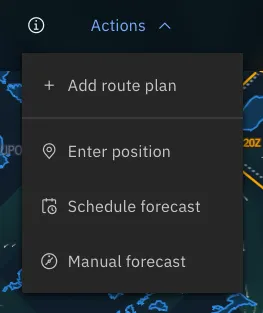
- The Actions menu contains other actions, including:
- Add voyage plan — upload your next voyage plan if your current one is concluded or out of date. After it’s uploaded, we’ll automatically schedule a forecast and notify you on-page when it’s ready.
- Enter position — manually log a ship position, in the unlikely event that both sensors and AIS positioning systems are unavailable.
- Schedule forecast — schedule a new forecast early. We typically schedule a forecast every hour, unless you upload a new voyage plan.
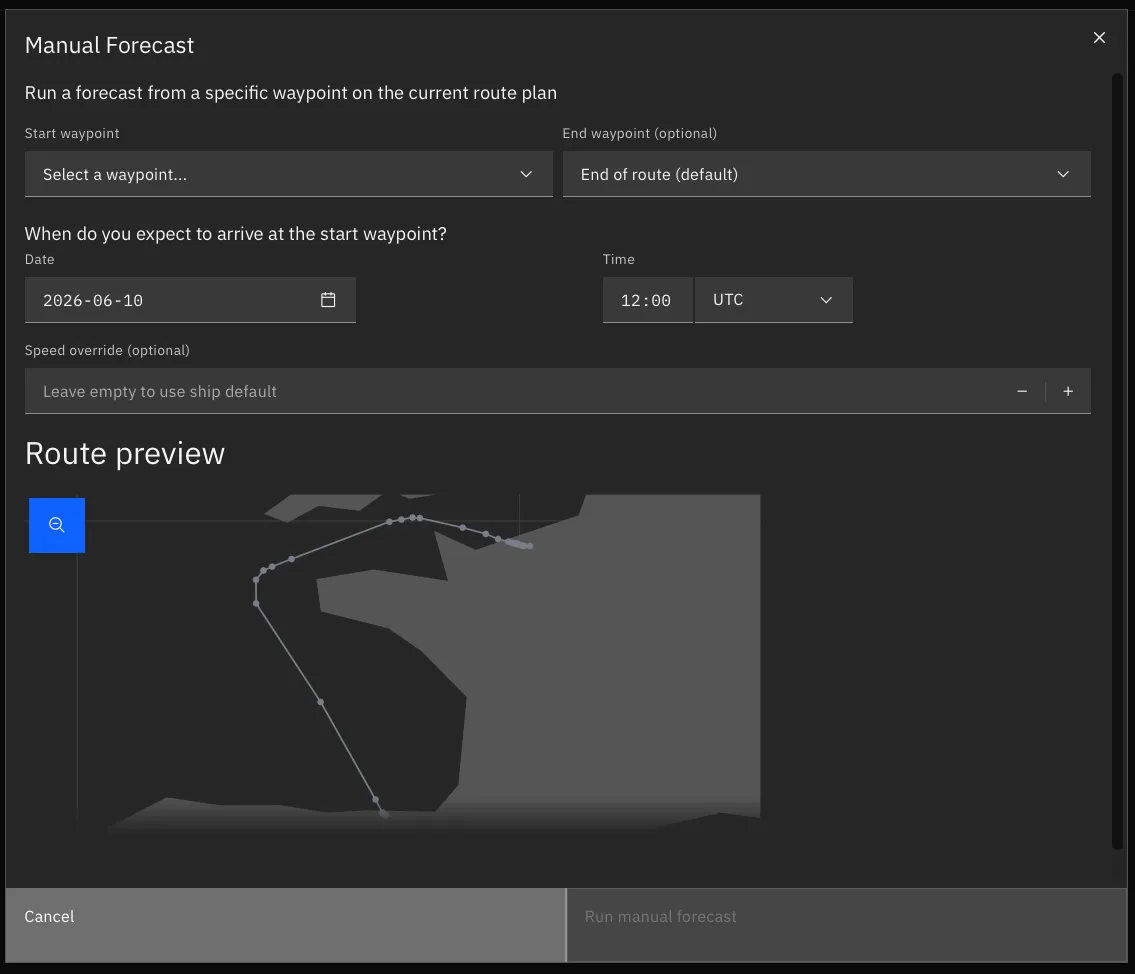
- Manual forecast — if you would like a forecast to “look ahead” to a later part of your voyage plan, you can manually request one from a selected waypoint at a future date.
The time the forecast was issued is shown at the top of the screen, in the title bar, alongside your ship’s name.
Viewing older forecasts
Section titled “Viewing older forecasts”To see earlier forecasts, open the Previous forecasts page (from the navigation rail on the left edge of the page). It shows scheduled and completed forecasts for your voyage plan:
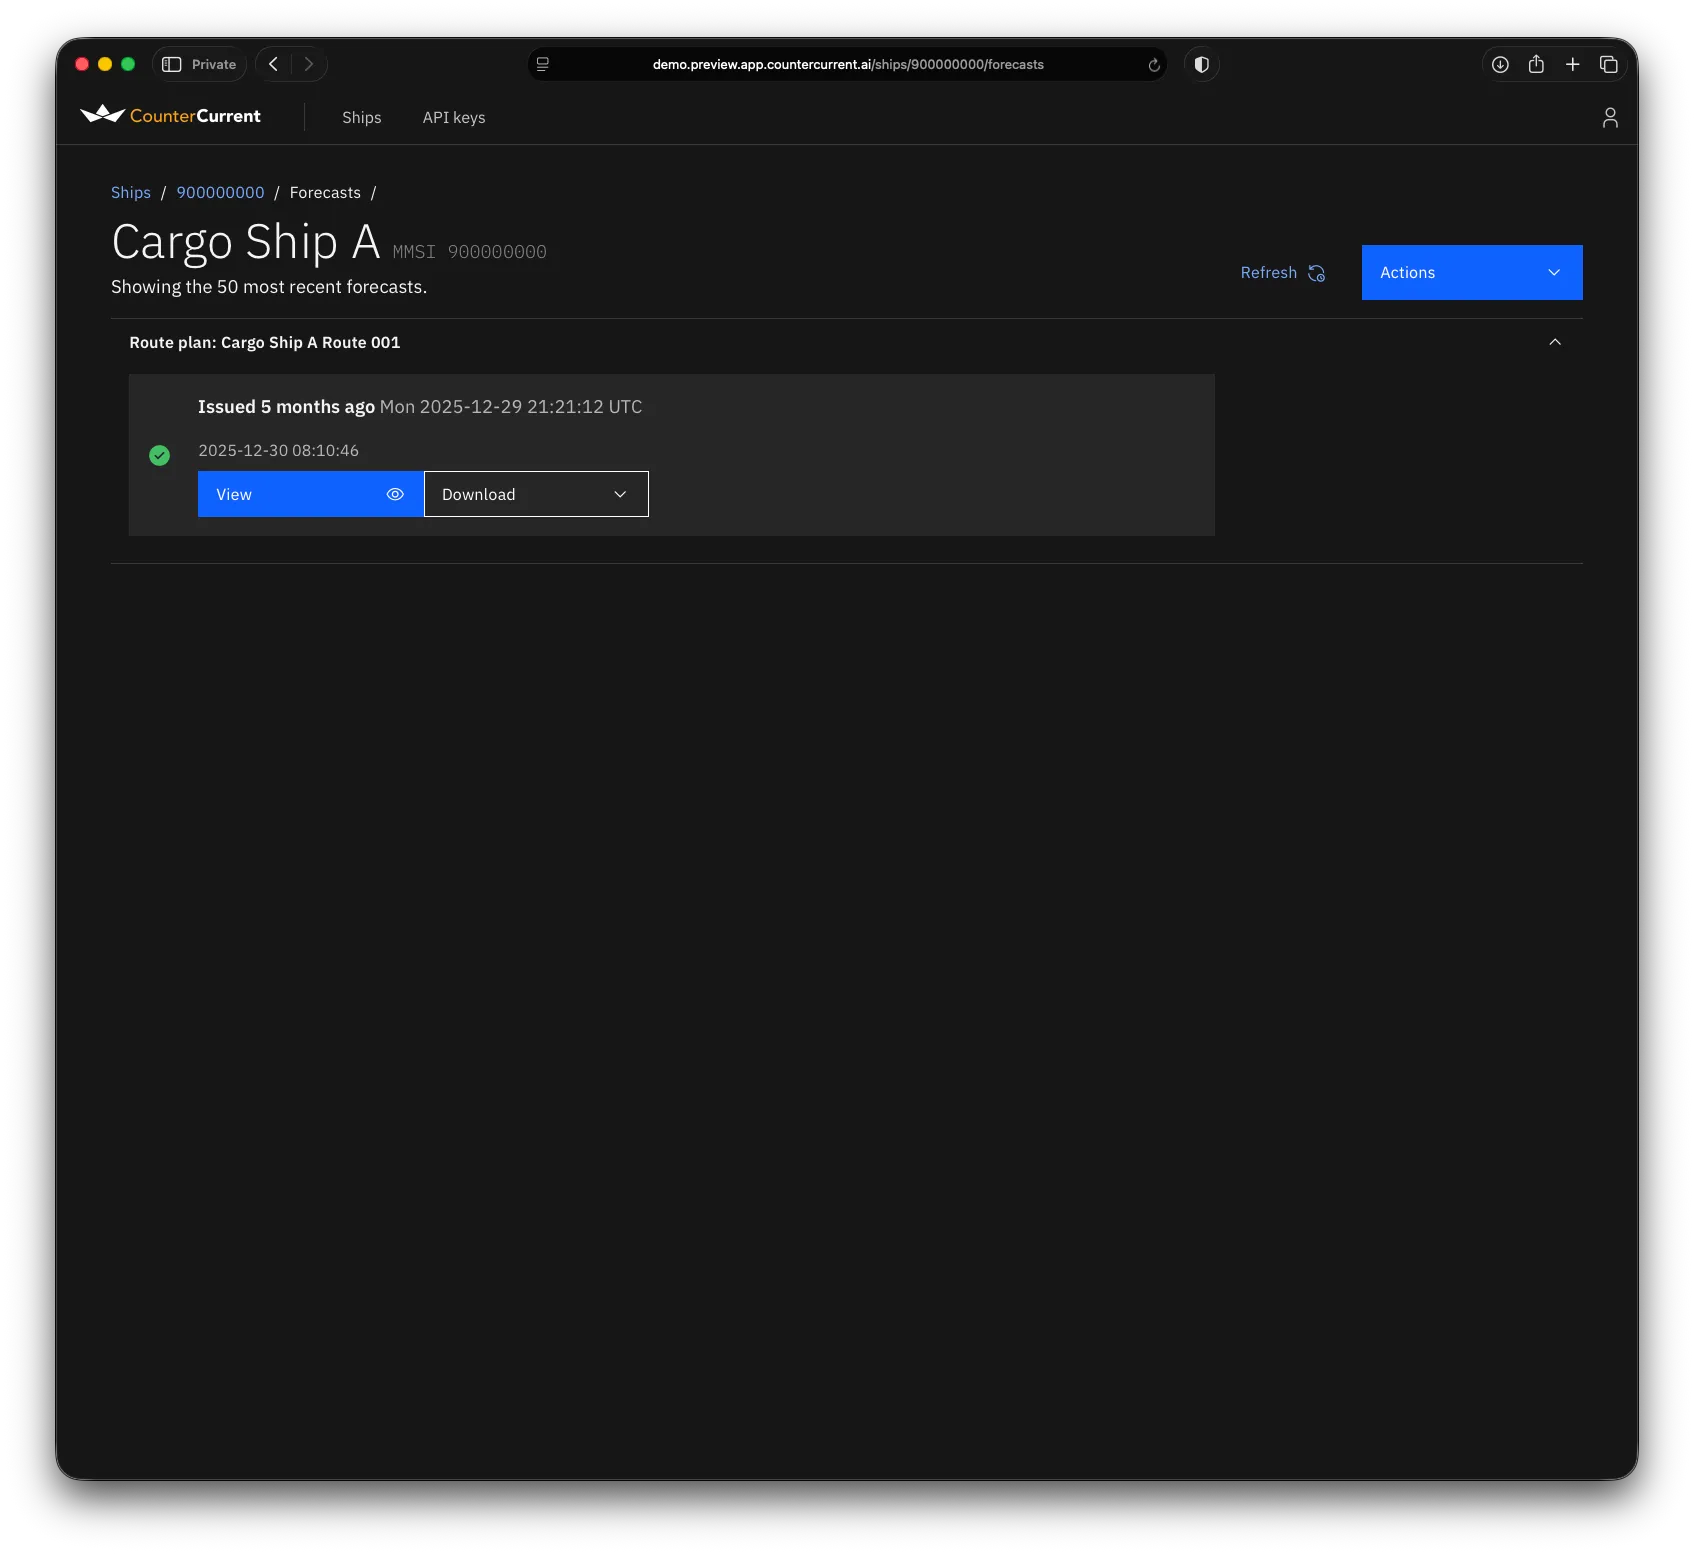
When a forecast is ready, press View to open it on the map, or Download to grab our recommended route straight away.
Manual forecasts
Section titled “Manual forecasts”Sometimes you may need to request a forecast from a specific point on your voyage plan. In this case, you can use the Manual forecast button on the Actions menu.
The manual forecast popup will ask you a few things:
- From which waypoint do you want to start the forecast? (Required)
- Optionally, from which waypoint do you want to end the forecast? (defaults to the end of the voyage plan)
- When do you expect to arrive at the starting waypoint?
- Optionally, do you intend to travel at a specific speed? (left blank, defaults to the speed we have set for your ship)
The route preview map will highlight the waypoints you have selected. You can also hover over waypoints in the voyage plan preview to confirm their ordering.
When you’re ready, press Run manual forecast and a forecast will be immediately scheduled. Refresh the page a few minutes later and it will be in the forecast list.