
Uploading your first voyage plan
The first time you log in, you won’t have any forecasts yet — you need to upload a voyage plan first. We’ll greet you with a Welcome! Where to first? message and an Add voyage plan button:
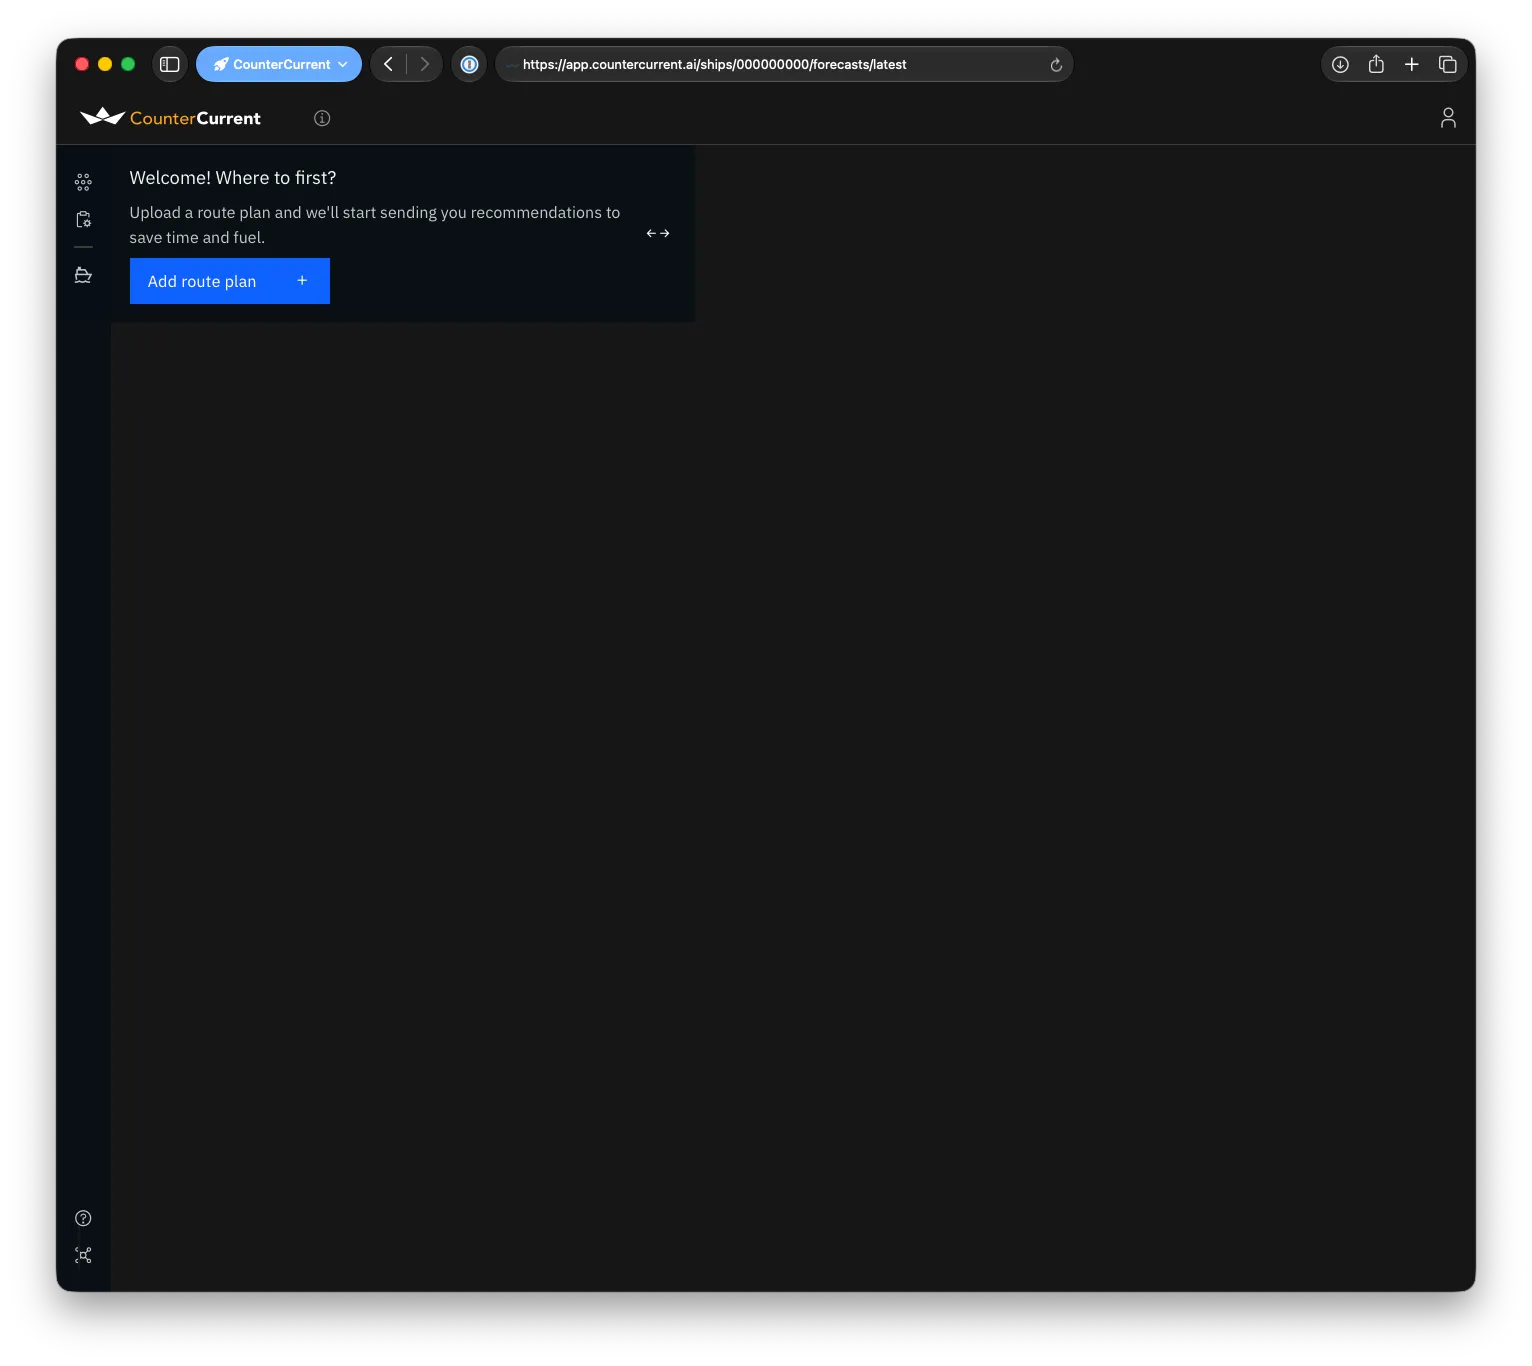
Press Add voyage plan to bring up the upload popup:
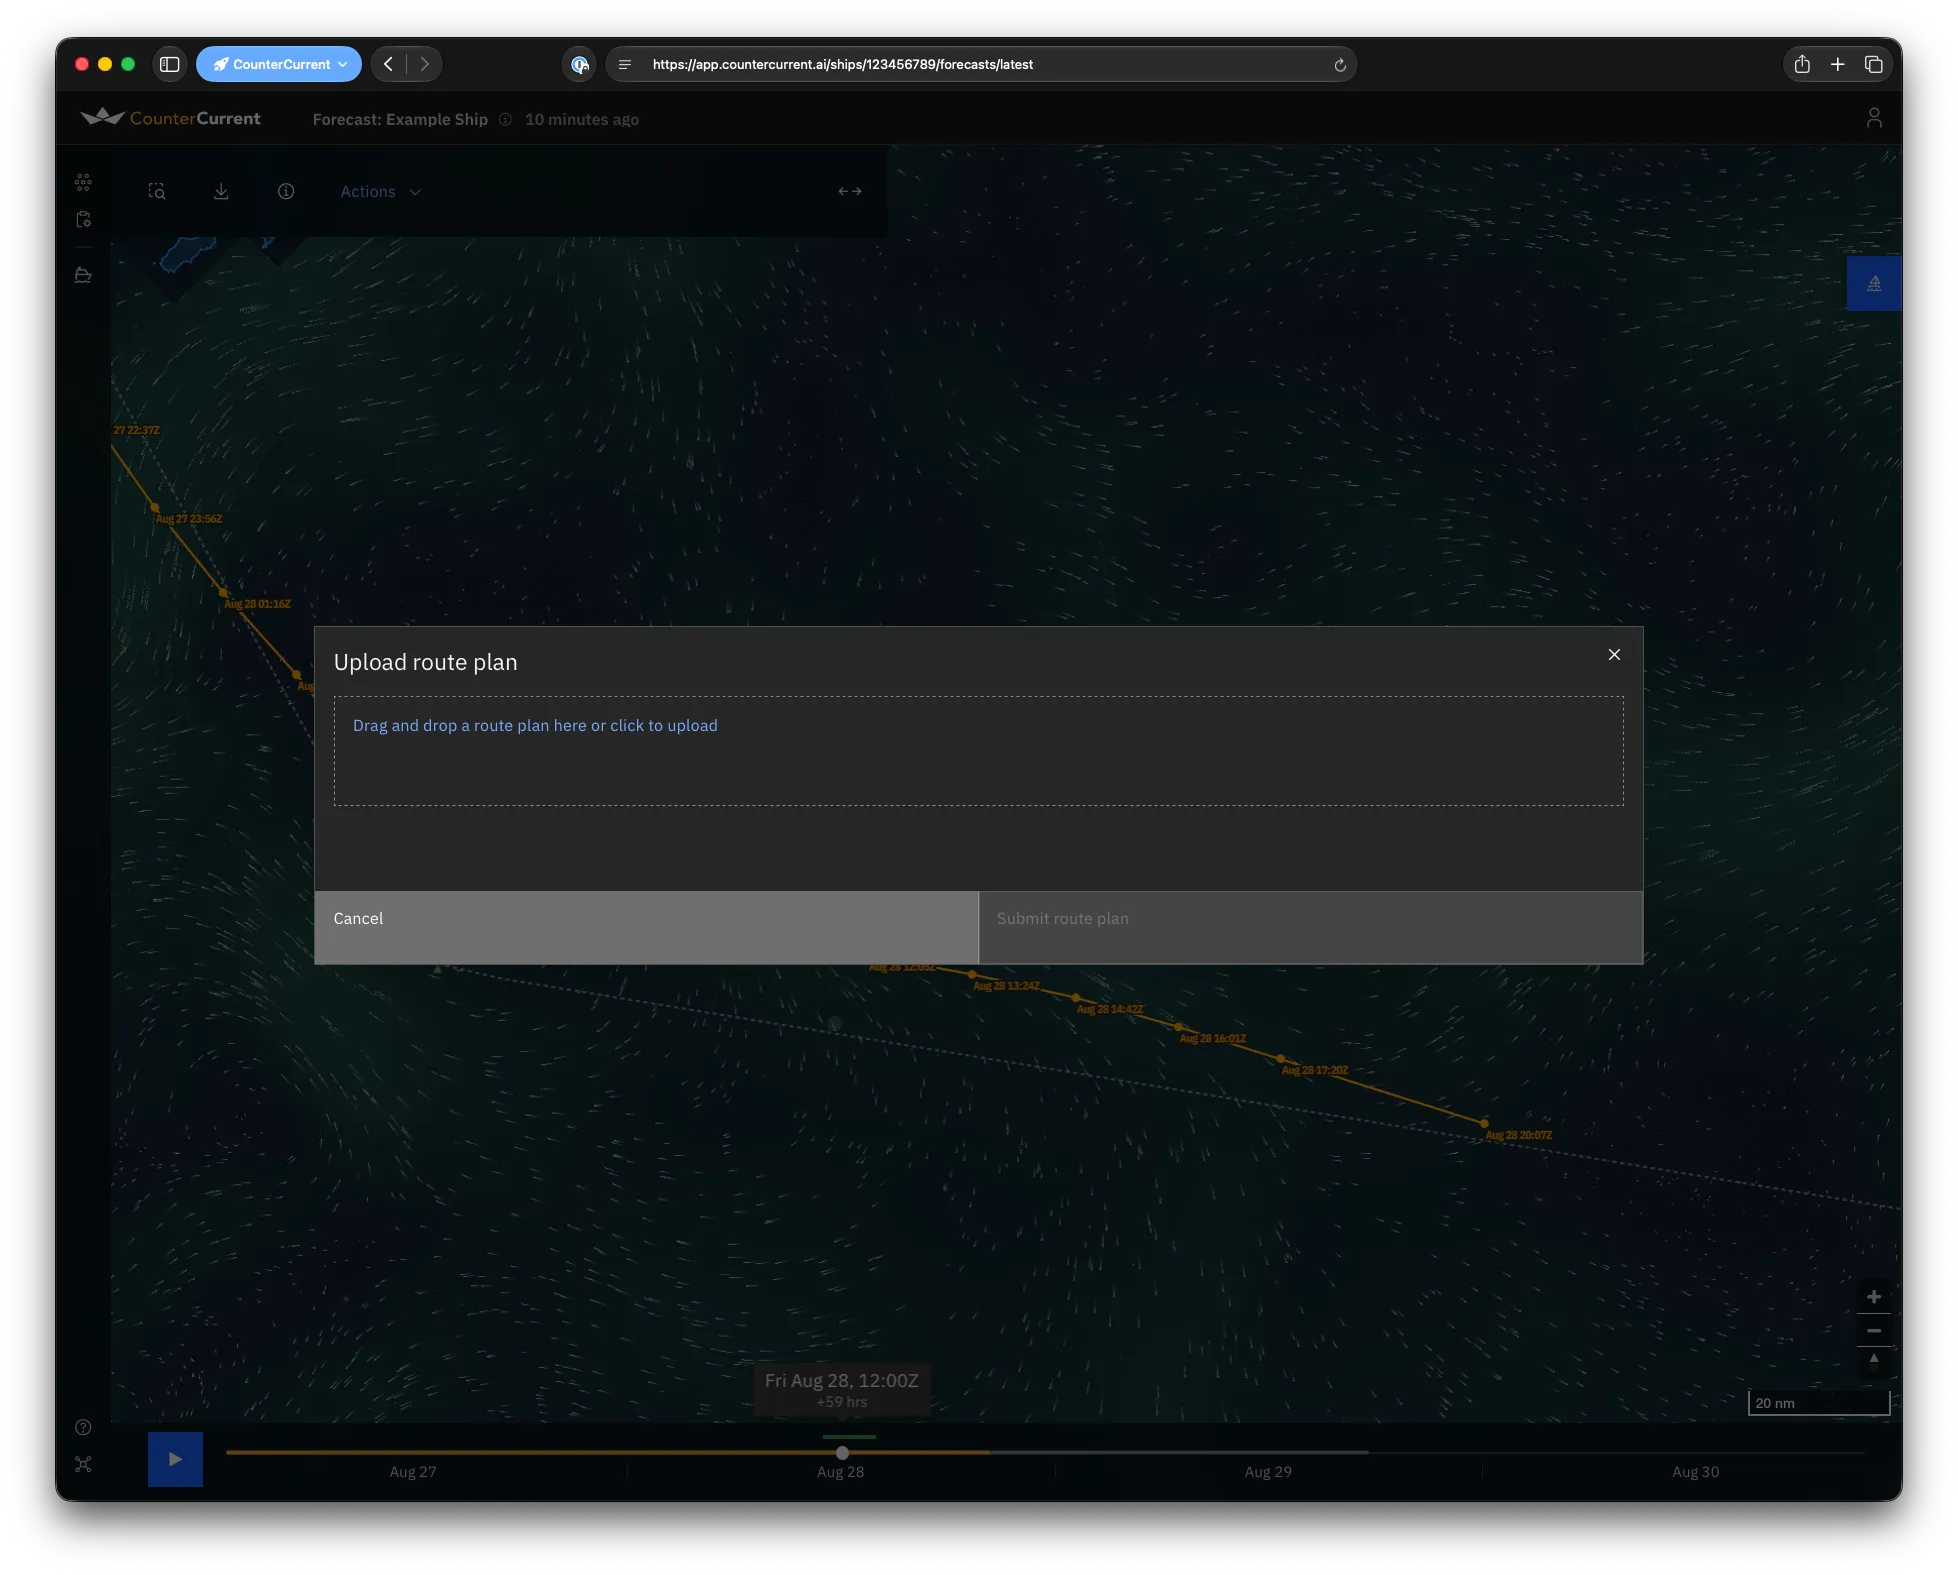
Either click on the dotted box to bring up a file selector, or drag-and-drop a file directly in. If it’s a valid file, we’ll show you a preview map of the route (you can use the blue zoom button in the top-left corner to zoom out to see the voyage plan in a global context).
Voyage plan file formats
Section titled “Voyage plan file formats”You can provide voyage plans in a few ways:
The easiest is a CSV file with coordinates in decimal latitude and longitude as separate columns. If you provide this, we’ll try to guess what those columns are, but we’ll ask you to confirm them. If you don’t see a preview map, we might have guessed the columns wrong — select the right ones and click Re-check. Once it looks right, click Submit voyage plan.
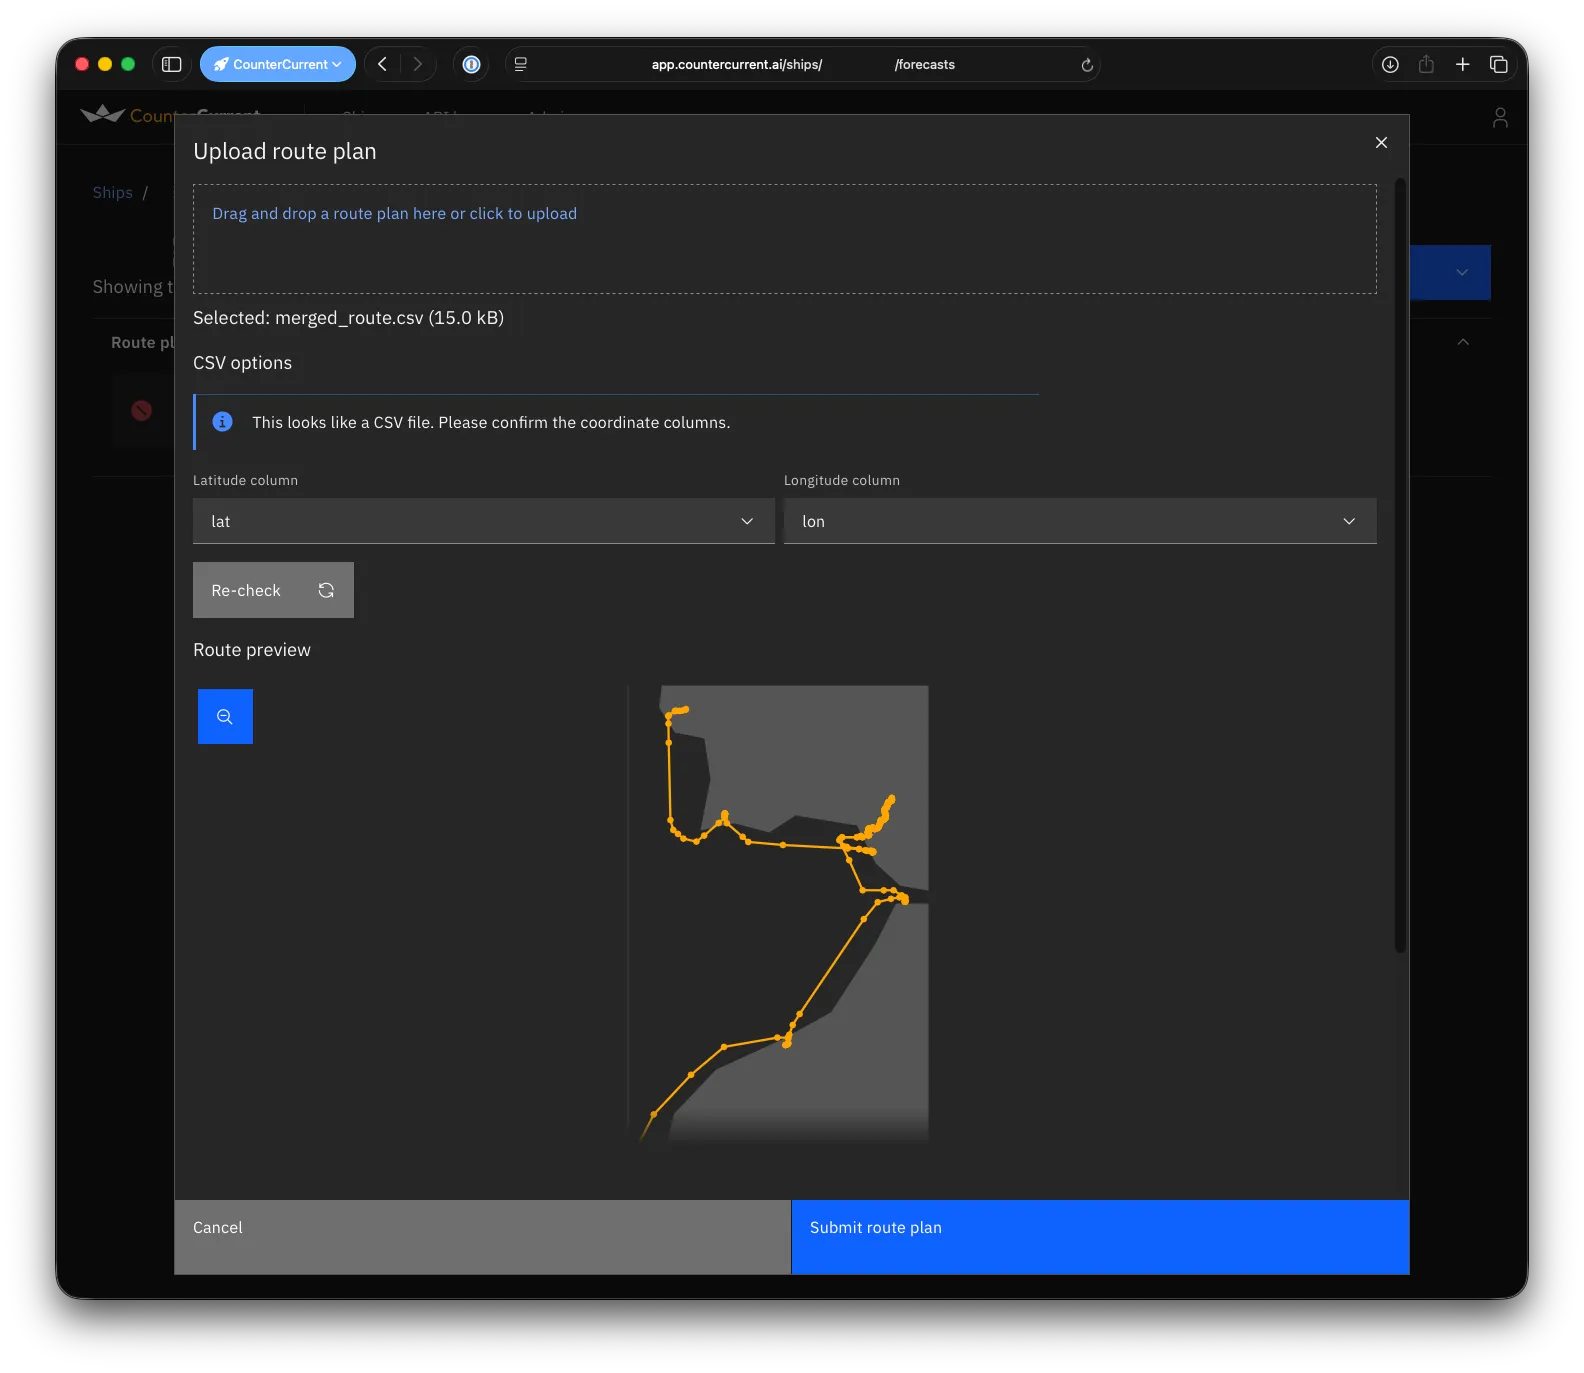
Other formats include:
- JRC ECDIS CSV (also known as StormGeo CSV) — a
.csvfile with a particular structure. - RTZ — an XML file with the extension
.rtz.
We will automatically detect these other formats if you provide them. If the preview map looks good, click Submit voyage plan.
If your ship is set up to get scheduled forecasts, we’ll schedule the first one straight away. Stay on the latest forecast page — we’ll let you know when the first one is ready.
Downloading a voyage plan
Section titled “Downloading a voyage plan”From the Voyage plans page, you can download any voyage plan you’ve previously uploaded. Use the Download menu next to a plan and choose the format you’d like: Regular CSV, JRC ECDIS CSV, or RTZ.